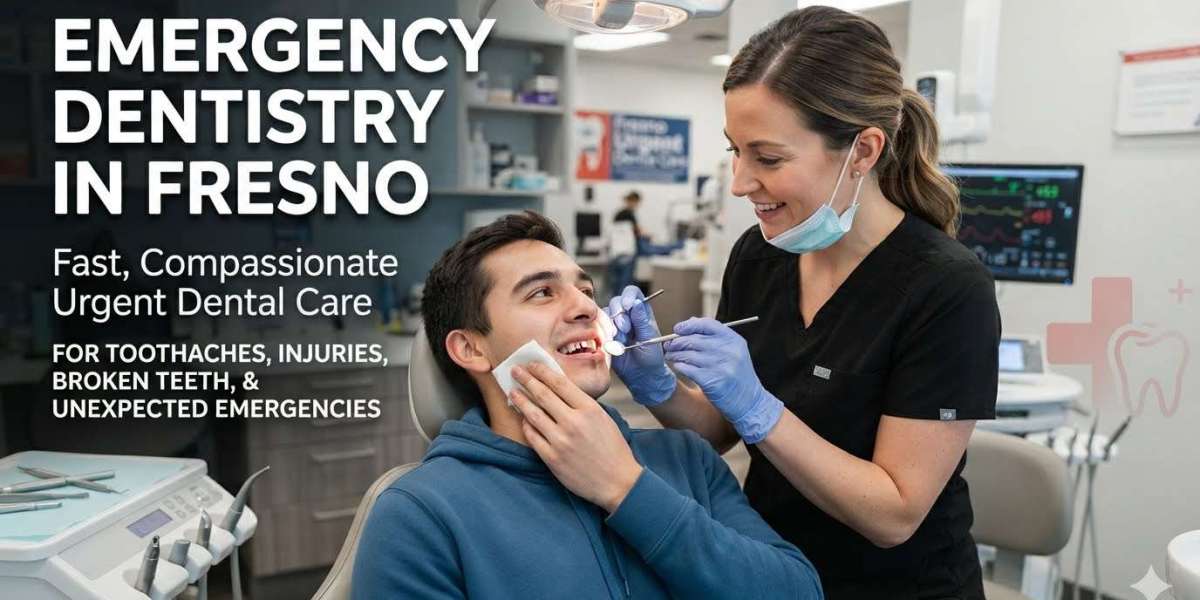
Emergency Dentistry in Fresno provides fast, compassionate care for patients facing urgent dental issues, helping restore oral health and protect their smiles as quickly as possible.
With same-day appointments whenever possible and advanced diagnostic technology, emergency dentists are equipped to treat a wide range of dental emergencies efficiently and comfortably.
What Is Emergency Dentistry?
Emergency Dentistry in Fresno focuses on diagnosing and treating urgent dental problems that require immediate attention. Emergency dental care aims to relieve pain, preserve natural teeth, prevent infection, and restore normal oral function.
Seeking prompt treatment during a dental emergency can often prevent more extensive procedures and improve the chances of saving damaged teeth.
Common Dental Emergencies
An experienced provider of Emergency Dentistry in Fresno can treat many types of urgent dental conditions, including:
- Severe or persistent toothaches
- Broken, chipped, or cracked teeth
- Knocked-out (avulsed) teeth
- Loose or displaced teeth
- Lost crowns or fillings
- Dental abscesses and oral infections
- Swollen gums or facial swelling
- Broken dentures or dental appliances
- Soft tissue injuries involving the lips, tongue, cheeks, or gums
- Injuries resulting from sports, falls, or accidents
If you're unsure whether your situation is a dental emergency, it's always best to contact your dentist for guidance.
Signs You Need Emergency Dental Care
Some symptoms should never be ignored. Contact a provider of Emergency Dentistry in Fresno immediately if you experience:
- Intense tooth pain that does not improve
- Bleeding that won't stop
- Swelling of the face or jaw
- A knocked-out permanent tooth
- A cracked or fractured tooth causing pain
- Signs of infection, such as pus or fever
- Difficulty chewing due to dental injury
- Trauma affecting your teeth or jaw
Early treatment can reduce pain, minimize complications, and improve treatment outcomes.
Emergency Dental Services
Comprehensive Emergency Dentistry in Fresno includes a variety of treatments designed to address urgent dental problems.
Toothache Relief
Severe tooth pain may result from tooth decay, infection, trauma, or an abscess. Your dentist will identify the underlying cause and recommend appropriate treatment to eliminate pain and protect your oral health.
Broken or Chipped Tooth Repair
Depending on the extent of the damage, treatment may include dental bonding, crowns, veneers, or other restorative procedures to rebuild the tooth and restore its appearance and function.
Knocked-Out Tooth Treatment
If a permanent tooth has been knocked out, immediate dental care significantly increases the likelihood of successfully saving the tooth. Handle the tooth carefully by the crown, avoid touching the root, and seek emergency dental care as soon as possible.
Dental Abscess Treatment
Dental infections can become serious if left untreated. Emergency treatment may involve draining the infection, prescribing antibiotics when appropriate, and performing root canal therapy or extraction if necessary.
Lost Fillings or Crowns
Missing restorations expose teeth to further damage and sensitivity. Emergency treatment helps protect the affected tooth until a permanent restoration can be completed.
What to Expect During an Emergency Dental Visit
When you visit a provider of Emergency Dentistry in Fresno, your care typically includes:
Immediate Evaluation
Your dentist will examine the affected area, review your symptoms, and may take digital X-rays to accurately diagnose the problem.
Pain Management
Relieving discomfort is a top priority. Depending on your condition, local anesthesia or other pain management techniques may be used to ensure a comfortable treatment experience.
Personalized Treatment
Once the cause of the emergency is identified, your dentist will recommend the most appropriate treatment to restore your oral health and prevent additional complications.
Follow-Up Care
Some dental emergencies require additional visits for permanent restorations or continued monitoring. Your dentist will provide detailed instructions for recovery and future care.
How to Handle Common Dental Emergencies
Knowing what to do before reaching the dental office can improve outcomes.
Severe Toothache
- Rinse your mouth with warm water.
- Gently floss around the affected tooth to remove trapped debris.
- Avoid placing aspirin directly on the gums.
- Contact your dentist promptly.
Knocked-Out Tooth
- Pick up the tooth by the crown only.
- Rinse it gently if dirty without scrubbing.
- If possible, place the tooth back into the socket.
- If not, store it in milk or a tooth preservation solution.
- Seek immediate emergency dental care.
Broken Tooth
- Rinse your mouth with warm water.
- Apply a cold compress to reduce swelling.
- Save any broken pieces if possible.
- Visit your emergency dentist as soon as possible.
Lost Crown
- Keep the crown if you can.
- Avoid chewing on the affected side.
- Schedule an emergency dental appointment promptly.
Preventing Dental Emergencies
While not all emergencies can be avoided, you can reduce your risk by:
- Brushing and flossing daily
- Attending routine dental checkups
- Wearing a mouthguard during sports
- Avoiding chewing on ice, hard candy, or non-food objects
- Addressing small dental issues before they worsen
- Wearing a nightguard if you grind your teeth
Preventive care helps maintain strong teeth and lowers the likelihood of unexpected dental injuries.
Why Choose Emergency Dentistry in Fresno?
Patients trust Emergency Dentistry in Fresno because of the prompt, compassionate care available when urgent dental problems arise. Experienced dental professionals use advanced technology and proven treatment techniques to quickly diagnose and manage emergencies while prioritizing patient comfort.
Benefits include:
- Same-day emergency appointments whenever possible
- Comprehensive diagnosis and treatment
- Advanced digital imaging
- Gentle, compassionate care
- Effective pain relief
- Personalized treatment plans
- Focus on preserving natural teeth whenever possible
Whether you're dealing with a sudden injury or severe tooth pain, emergency dental care can help restore your smile and peace of mind.
Get Immediate Care for Your Dental Emergency
Dental emergencies should never be ignored. Prompt treatment can relieve pain, prevent complications, and improve the chances of saving damaged teeth. If you're experiencing a dental emergency, don't wait to seek professional care.
Schedule Emergency Dentistry in Fresno Today
If you or a loved one is experiencing tooth pain, a broken tooth, swelling, or another urgent dental issue, contact a trusted provider of Emergency Dentistry in Fresno immediately. Their experienced team is ready to provide fast, compassionate care to restore your oral health, relieve your discomfort, and help you get back to smiling with confidence.