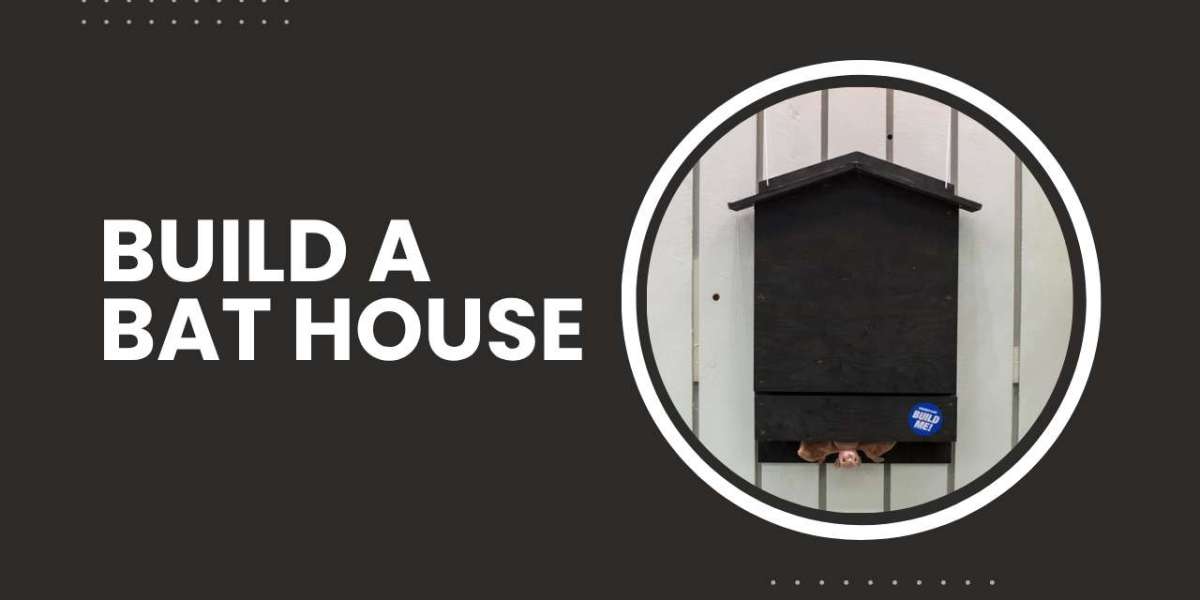
Building a bat house is a rewarding woodworking project that combines creativity with wildlife conservation. Bats play a vital role in reducing pests and maintaining a healthy ecosystem. Crafting a sturdy, safe, and inviting bat house helps support these valuable creatures while enhancing your woodworking skills. With simple tools and proper planning, you can create a bat-friendly home that will last for years.
Why Building a Bat House Matters
Bats are essential to the environment for many reasons. They consume thousands of mosquitoes and crop-eating insects each night, which makes them natural pest controllers. By constructing a bat house, you:
Provide a safe roosting habitat for bats
Help control insects naturally without chemicals
Encourage biodiversity in your backyard
Support local conservation efforts
A well-built bat house is both a functional structure and an educational woodworking project that benefits nature and your community.
Materials and Tools You Will Need
Before starting, gather all necessary materials and tools to ensure a smooth process.
Recommended Woods:
Cedar: Naturally weather-resistant and durable
Untreated Pine: Affordable and bat-safe
Supplies Required:
Exterior-grade screws or nails
Non-toxic, weather-resistant wood glue
Sandpaper (medium and fine grit)
Non-toxic paint or water-based stain
Tools Required:
Saw
Drill
Measuring tape
Clamps
Lathe (optional, for custom turned details)
When it comes to clamping and joining, using the right technique is critical. Visit the Wooden Bar Clamp Guide to learn how to secure your workpieces tightly and evenly for perfect alignment during assembly.
Planning and Designing Your Bat House
A good design ensures bats find your house safe, comfortable, and attractive. Keep these factors in mind when designing:
Height: At least 24 inches tall
Width: Around 14 inches wide
Depth: 4 inches deep
Ventilation: Small side vents or slots to maintain airflow
Roof: Sloped to shed rainwater
Interior: Grooved or rough for easy bat grip
Choose a simple but functional layout. The right structure keeps the bats safe from predators while maintaining the warmth they prefer.
Cutting and Preparing the Wood
Once your design is ready, carefully cut each panel to size.
Steps to Follow:
Measure and mark the wood accurately before cutting.
Cut panels for the back, sides, front, and roof.
Sand sharp or rough edges to avoid bat injury.
Score or groove the inside of the back panel for climbing grip.
Prepare a small landing pad at the bottom for easy bat access.
If you are still developing your woodworking skills, try practicing with simpler projects first. The Build a Bookshelf guide offers step-by-step techniques for cutting, joining, and finishing wood which are useful when building your bat house.
Assembling the Bat House
Assembly is the most exciting stage where your bat house begins to take shape.
Step-by-Step Assembly:
Attach the side panels to the backboard using screws and glue.
Secure the front panel, leaving a small gap at the bottom for ventilation and droppings.
Install the roof panel with slight overhangs to protect against rain.
Check alignment and make sure all parts are firmly attached.
Optionally, add lathe-turned wooden details like knobs or decorative grooves to give your bat house a personalized touch.
A well-assembled structure ensures the house remains stable and resistant to harsh weather conditions.
Painting and Finishing Touches
A proper finish adds beauty and extends the life of your bat house.
Finishing Tips:
Apply non-toxic, weather-resistant paint or stain only on the exterior.
Use darker colors in cooler regions to retain heat.
Seal all edges and joints to prevent water damage.
Allow it to dry completely before installation.
Avoid painting the interior since fumes can harm bats or repel them from roosting inside.
Installation and Placement Tips
Where and how you place the bat house affects whether bats will use it.
Best Practices for Installation:
Mount the bat house 12 to 20 feet above ground.
Face it south or southeast to get at least 6 to 8 hours of sunlight daily.
Keep it away from artificial lights and noisy areas.
Place near a pond, river, or garden where insects are abundant.
Mount it on a building or pole, not a tree, to prevent predators from disturbing the bats.
Once installed, give bats time to discover their new home. It might take several months or a full season for them to settle in.
Maintenance and Care
Regular maintenance helps ensure your bat house remains safe and effective for years.
Maintenance Tips:
Inspect once a year for cracks or damage.
Repaint and reseal joints as needed.
Clean the interior before spring to remove old debris.
Avoid disturbing bats during the summer months.
Use mild, non-toxic cleaners and let the structure dry completely before reinstallation.
Simple annual maintenance will keep your bat house looking great and functioning well.
Benefits of Having a Bat House
Installing a bat house brings several benefits to your home and the environment:
Natural insect control reduces mosquitoes and crop pests.
Bats contribute to pollination and seed dispersal.
Eco-friendly solution for pest management.
Educational opportunity for kids and nature lovers.
Enhances your woodworking and design skills.
Supporting bats benefits your garden, your comfort, and the broader ecosystem.
Conclusion
Building a bat house is an enjoyable way to combine woodworking craftsmanship with environmental responsibility. By using safe materials, precise assembly, and proper placement, you create a welcoming home for bats and contribute to natural pest control.
Every bat house built supports a cleaner, greener environment. Whether you are a beginner or a skilled craftsman, this project will give you lasting satisfaction as you watch bats thrive in a home you made yourself.
FAQs
How long does it take to build a bat house?
It generally takes four to six hours depending on your design and woodworking experience.
What type of wood is best for a bat house?
Cedar and untreated pine are ideal. They are durable, safe for bats, and resistant to weather damage.
Can I paint the inside of the bat house?
No, the inside should remain untreated to avoid harmful fumes that could drive bats away.
Where should I place my bat house?
Mount it 12 to 20 feet above ground, facing south or southeast, near a water source for the best results.
How can I attract bats faster?
Ensure the house gets plenty of sunlight, is securely installed, and located near areas with high insect activity. Patience is important because bats may take time to move in.