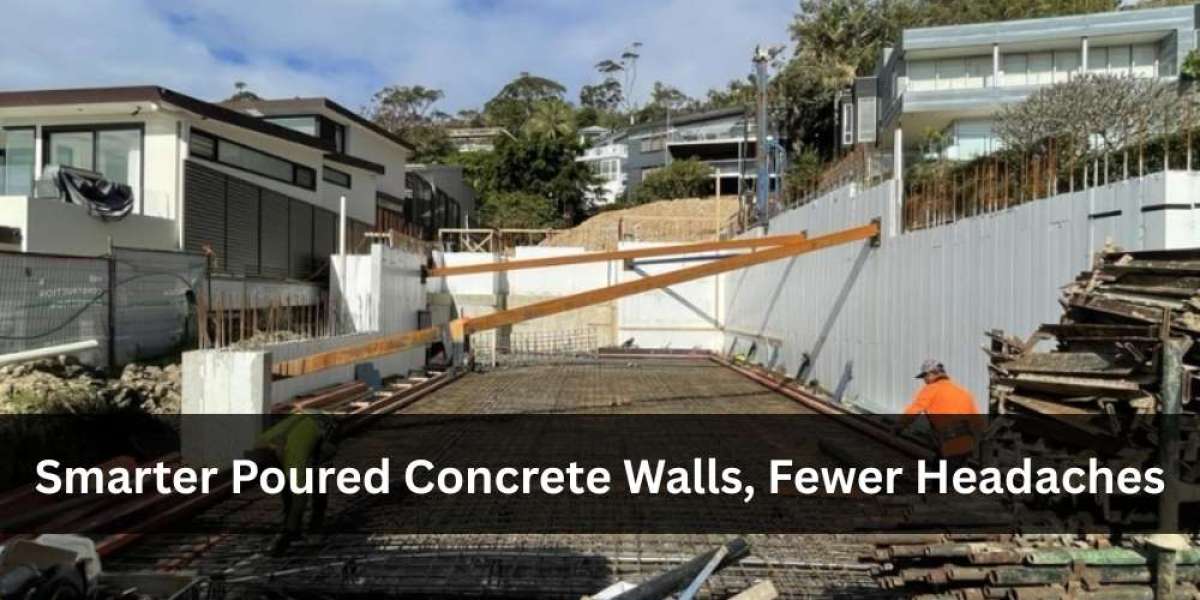
Concrete’s having a moment again, but not for flashy reasons. It’s the quiet reliability that matters on site: straight lines, plumb corners, tidy curing, no nasty surprises when the forms come off. When we discuss poured concrete wall construction, we’re really talking about coordination—mix design, weather windows, reinforcement, vibration, curing, and the like. And the sequence counts. Get it right, and walls behave like a single, confident piece of structure. Get it wrong and you’re chasing blowouts and honeycombing. That’s why we rate poured wall construction methods as a discipline, not a task: a chain of small decisions that add up to speed, finish quality, and long-term performance.
What actually makes a poured wall perform?
A poured wall performs when mixing, forming, and curing align to control shrinkage, consolidation, and load transfer. The goal is to achieve uniform density with reinforcement that is precisely covered.
Most problems start before the truck arrives. We calibrate slump to placement method, confirm ties and bracing, and watch the weather like hawks. Vibration isn’t optional; it’s the insurance policy against voids. Curing compounds and covers then prevent moisture from entering, slowing hydration and promoting strength. On tight sites, we stage pours to reduce cold joints and schedule lifts so crews aren’t bottlenecked around corners or re-entrant angles.
- Specify slump for placement method
- Brace forms beyond minimums in wind corridors
- Use internal vibration in layered lifts
- Protect early-age concrete from temperature swings
How do we keep tolerances tight without slowing down?
We combine pre-pour checklists with small, repeatable controls—form geometry checks, bar chairs at known spacings, and vibration logs—to keep speed up while staying within tolerance.
Old-school string lines still earn their keep, but we add lasers to pick up drift over longer runs. Rebar is tagged by zone, not just diameter, so crews can spot a mismatch before it’s tied. We also mark lift heights on forms—no guessing at the poker depth. For corners and openings, we double up on ties and run a quick dry-fit of sleeves and blockouts. Nothing heroic, just habits that crowd out errors. The result: fewer rework cycles, cleaner reveals, and walls that meet design coverage rather than just flirting with it.
- Tag reinforcement by zone and size
- Mark lift heights directly on forms
- Log vibration passes per square metre
Where do cost blowouts really come from—and how do we avoid them?
Cost blowouts typically result from rework, such as fixing honeycombing, re-forming bulged sections, or grinding rough seams. Preventive planning is cheaper than patching.
We watch for three traps. First, under-bracing to “save” time—it never does. Second, ignoring placement rate, overfilling forms, and chasing leaks is a sure-fire margin killer. Third, skimping on curing. A few extra hours under blankets can mean fewer cracks later, which means less epoxy, less grinding, and happier clients. We also encourage the use of transparent daily diaries, including photos at each lift, weather notes, and any changes to admixtures. When schedules get squeezed, those records defend decisions and protect the program.
Good-poured walls feel inevitable when the team’s muscle memory meets a plan that respects physics. Keep mixes consistent, forms stiffer than you think you need, and vibration deliberate rather than frantic. Protect early-age concrete, and don’t treat curing like the boring bit—it’s the bit that decides whether the wall still looks right in five winters’ time. For a sharper perspective on quality expectations, poured walls precision standards offers a closer look at how the industry is tightening benchmarks and driving consistency across projects.