When it comes to maintaining or upgrading your home exterior, fascias play an essential role in both protection and appearance. They provide a finishing touch to your roofline while safeguarding your property against weather damage. Installing fascias correctly ensures that your roof, gutters, and overall structure remain in top condition for years to come.
In this guide, we’ll cover what fascias are, why they matter, and how to approach fascias installation step by step.
What Are Fascias and Why Are They Important?
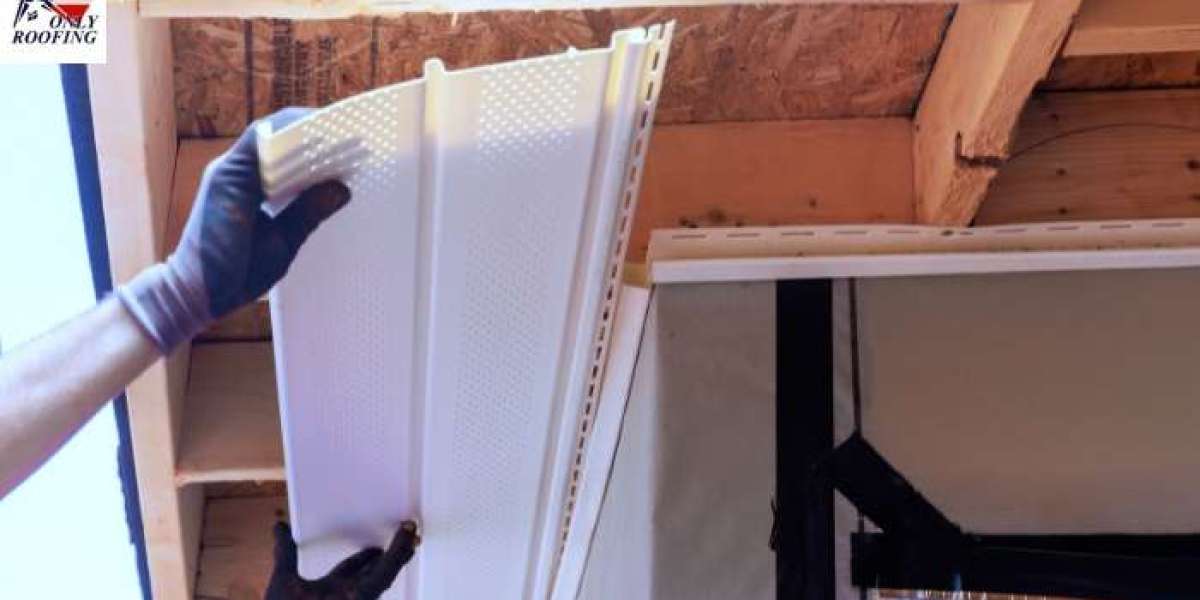
Fascias are the horizontal boards fixed along the edge of the roof. They sit just below the roof tiles and help support the bottom row of tiles while providing a base for the gutter system. Beyond functionality, fascias also give your home a polished look by hiding rough roof edges.
The importance of fascias includes:
Supporting guttering and roof tiles
Protecting the roof and interior from moisture damage
Improving the property’s curb appeal
Preventing pests from entering the roof space
Choosing the Right Materials for Fascias
Before starting the installation, selecting the right material is crucial. Fascias are commonly available in:
uPVC (Vinyl): Affordable, low maintenance, and weather-resistant.
Timber (Wood): Traditional and attractive but requires regular maintenance.
Aluminum: Lightweight, durable, and long-lasting.
Composite: A mix of materials that provides strength and low maintenance.
Your choice depends on your budget, climate, and the look you want to achieve.
Tools and Preparation for Fascias Installation
Like any home improvement project, preparation is key. Here are the essential tools and items you’ll need:
Measuring tape
Handsaw or power saw
Hammer or drill
Screws and nails
Ladder and safety gear
Sealant and paint (if using timber)
Before installation, ensure the roofline is in good condition. Remove old fascias carefully, check for any damage to rafters, and repair as needed.
Step-by-Step Fascias Installation
Step 1: Remove Old Fascias
If replacing existing fascias, carefully take them down without damaging the rafters or soffits.
Step 2: Measure and Cut
Measure the length of the roofline and cut the fascia boards accordingly. Accurate measurements are vital for a neat fit.
Step 3: Position and Fix
Align the fascia board against the rafter ends. Use galvanized nails or screws to secure the boards in place, ensuring they are level.
Step 4: Join and Seal
Where boards meet, use joining pieces for a seamless finish. Seal joints to prevent water ingress, especially in areas exposed to heavy rain.
Step 5: Fit the Guttering
Once fascias are installed, attach gutter brackets and fix the guttering securely. This ensures proper water drainage and prevents leaks.
Common Mistakes to Avoid
Using untreated timber without weatherproofing
Failing to check roofline integrity before installation
Incorrectly leveling fascias, leading to poor gutter performance
Skipping sealant or joint covers, which may cause leaks
Benefits of Professional Installation
While many homeowners attempt DIY, hiring professionals guarantees precision, durability, and safety. Experts have the tools, skills, and experience to handle complex roofline structures and ensure long-lasting results.
Conclusion
Fascias installation is more than just a cosmetic upgrade it’s a protective measure that extends the life of your roof and adds value to your home. By choosing the right materials, preparing carefully, and following proper installation steps, you can achieve a durable and attractive finish. For those seeking a hassle-free solution, professional installation is always the best option. Visit our official website of onlyroofing.com