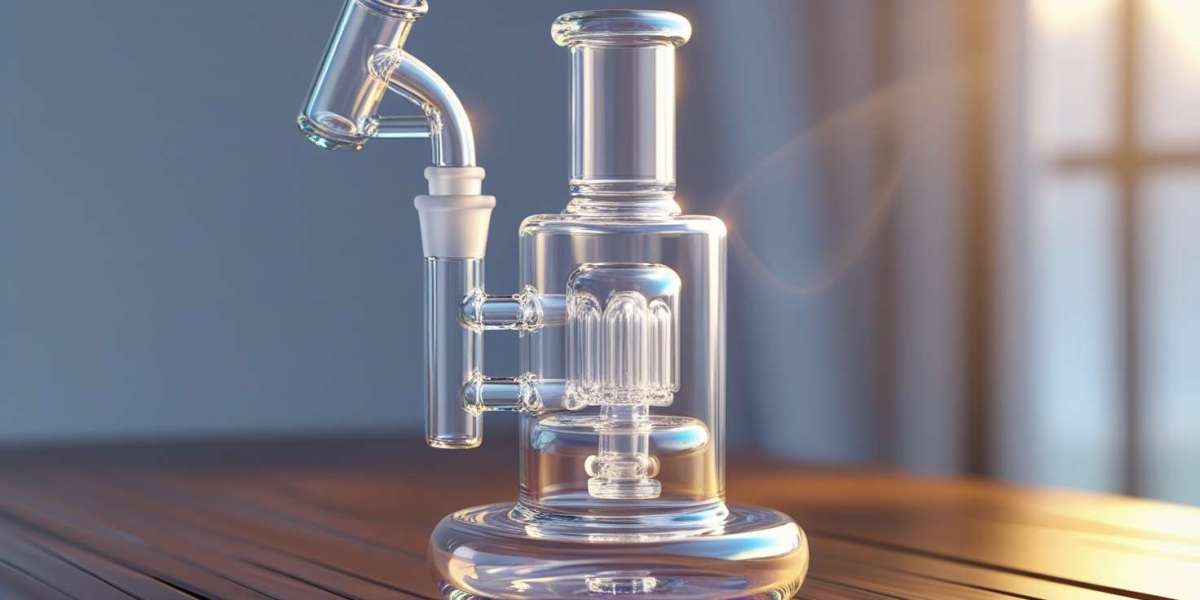
A dab rig delivers smooth, flavorful hits when used properly, but over time, residue buildup can reduce both taste and performance. Regular cleaning ensures every dab is as enjoyable as the first, while also extending the life of your rig. Whether you’re a beginner or a seasoned dabber, knowing how to clean your dab rig effectively is essential.
Why Cleaning Your Dab Rig Matters
Dab rigs accumulate concentrate residue, oils, and tar with every use. Over time, this buildup can:
- Alter the flavor of your concentrates
- Reduce vapor production
- Cause harsh hits or coughing
- Shorten the lifespan of your rig
Keeping your rig clean not only preserves the original flavor but also maintains smooth, efficient hits. A clean dab rig is a better Dab Rig, plain and simple.
Gather Your Cleaning Supplies
Before starting, make sure you have the right tools:
- Isopropyl alcohol (91% or higher): Effective for dissolving sticky concentrates
- Coarse salt: Acts as an abrasive to scrub away residue
- Resealable bags or containers: Useful for soaking smaller parts
- Cotton swabs or pipe cleaners: Reach tight areas
- Warm water: Rinse away cleaning solutions
Having everything ready makes the process quicker and easier.
Step-by-Step Cleaning Process
Disassemble Your Rig
Remove the nail, banger, or any detachable parts. Cleaning pieces separately ensures that each component gets thoroughly cleaned without damaging delicate parts of your rig.
Soak in Isopropyl Alcohol
Place smaller parts in a resealable bag filled with isopropyl alcohol and a pinch of coarse salt. Shake gently to let the abrasive action loosen stubborn residue. For larger rigs, pour alcohol and salt directly into the rig and cover openings while shaking.
Scrub Stubborn Areas
Use cotton swabs, pipe cleaners, or small brushes to remove concentrated buildup in hard-to-reach areas. Pay special attention to the nail or banger, as residue here can dramatically affect flavor.
Rinse Thoroughly
After scrubbing, rinse each component with warm water until all traces of alcohol and salt are gone. Residual cleaning agents can ruin the taste of your next dab, so take your time with this step.
Dry Completely
Allow your rig and parts to air dry completely before reassembling. Using a paper towel or cloth can help speed up the process, but avoid leaving lint inside the rig.
Tips for Maintaining Maximum Flavor
- Clean frequently: For heavy dabbers, clean your rig weekly. Light users can clean every 1–2 weeks.
- Use fresh water: Change the water in your rig after each session to avoid stale flavors.
- Avoid harsh tools: Never use metal or sharp tools on glass parts, as they can scratch or weaken the rig.
- Consider specialized cleaners: Some brands offer non-toxic dab rig cleaning solutions for extra convenience.
Quick Cleaning Between Sessions
If you don’t have time for a deep clean, a quick rinse can help:
- Remove the water and replace it with warm water
- Swirl gently to loosen light residue
- Swish your nail or banger with a cotton swab dipped in alcohol
This method keeps your rig functional and tasty until your next full cleaning session.
Signs Your Dab Rig Needs a Deep Clean
- Hits taste harsh or burnt
- Vapor production decreases
- Water looks cloudy even after changing
- Sticky buildup on nails, bangers, or downstems
Ignoring these signs can affect your overall dabbing experience and may lead to damage over time.
Conclusion
Regular cleaning is essential for maintaining the flavor, performance, and longevity of your dab rig. With the right tools and techniques, cleaning becomes a simple, rewarding habit. Whether you’re soaking parts in alcohol, scrubbing stubborn residue, or doing a quick rinse between sessions, keeping your rig pristine ensures every dab hits smoothly and tastes great.
A clean dab rig isn’t just visually appealing—it’s the key to the ultimate dabbing experience. Take the time to clean properly, and your next session will be smoother, more flavorful, and far more enjoyable.