You just bought a Netgear WiFi Range Extender but you don’t know how to configure the Netgear Extender with the help of the IP address: 192.168.1.250 don’t worry. This guide will provide a complete guide on how to setup the Netgear Extender and troubleshooting tips related to access issues.
Step 1: Plug in Your Extender
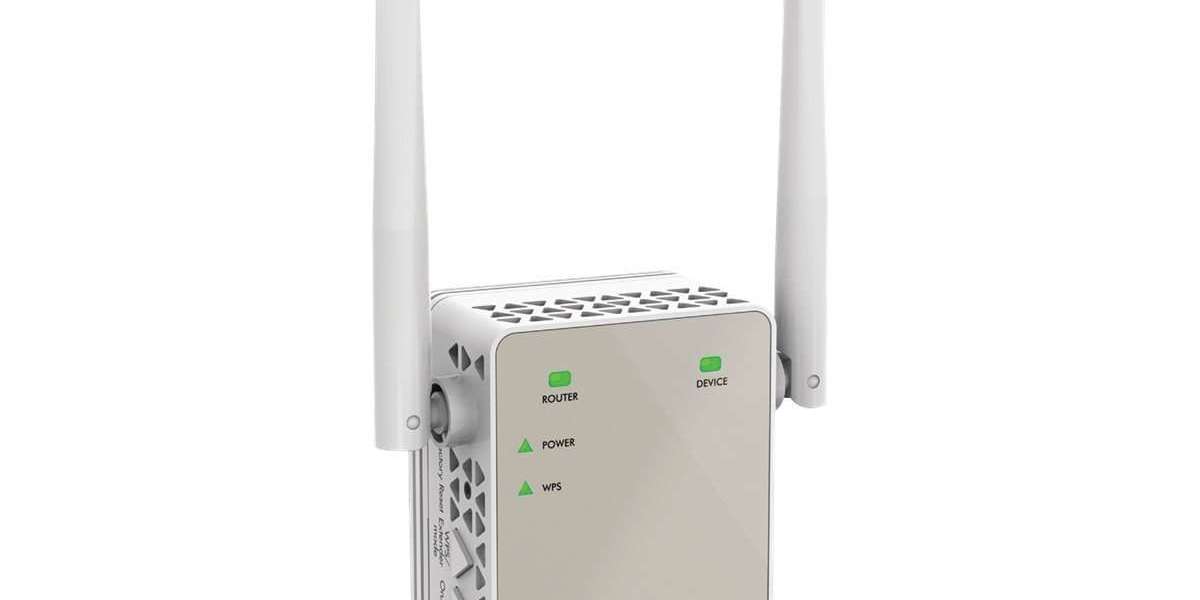
Firstly make sure to power on your extender. Look for the outlet which is close to your router and is close enough so that it can catch a strong WiFi signal, but also in the spot where you want to boost coverage. You have to wait until the lights turn to solid.
Step 2: Connect to the Extender Network
- Once the extender is on, go to your laptop, phone or whatever device you are using.
- Look for the WiFi network which is something like NETGEAR_EXT or NETGEAR_EXT_5G.
- Connect to that network.
- No password is needed. Sometimes there is one printed on a sticker on the extender itself. If you can’t detect it then go for manual.
Step 3: Visit Browser and Type192.168.1.250
Open your browser which can be Chrome, Firefox or whatever.
Type the IP which is 192.168.1.250 into the address bar of browser. Do not search it in the Google or bing. After that hit enter.
You should see the Netgear extender’s login page. If you can't see network then don't worry.
Try these:
- Make sure your device is connected to the extender’s WiFi and not with your main router.
- Make use of some different browser.
- Make sure to remove the browser's cache or open in incognito mode.
If all this fails then remove the extender's plug and wait for 30 seconds and plug it back in.
Step 4: Log in to the Extender
You will be asked to enter a username and password for login which are generally:
- Username: admin
- Password: password
If you changed these before, use your custom credentials.
If you changed the credentials and don’t remember, then you have to reset your extender.
Step 5: Configure Your Netgear WiFi Range Extender Settings
Now you are in. This control panel is where you tell the extender how to connect to your main router and how to broadcast the signal.
The extender will automatically detect the available networks and will select your home wifi from the list of networks.
You will need to enter your WiFi password for your main router here. This lets the extender join your existing network so it can boost it.
Step 6: Set Up the Extender’s WiFi Name and Password
Some users keep the extender’s WiFi network name the same as their main network. Your devices switch effortlessly when moving around your house.
Others prefer to add “_EXT” or something to the extender’s network name so they can tell the difference. Set a password for the extender’s WiFi which can be similar to that of main network or can select new one.
Step 7: Save and Reboot
- Hit save or apply.
- The extender will restart and after it is done, it should be ready to boost your WiFi signal.
Step 8: Reaction your equipment again
- After the Extender is restarted, disconnect the old Extender WiFi network and connect to the new which you have just configured.
- If you set SSID and password the same as your main WiFi, your devices can switch automatically, but sometimes you do it manually.
Step 9: Verify your connection
- Make sure to test the signal strength of your device.
- Try browsing, streaming or gaming if the Internet seems rapid or more reliable in areas that had weak Wifi signals.
Troubleshooting Tips for Access Issues
If you get stuck then there is a quick checklist:
- You should be connected to the Extender Network and not with your main router.
- Use separate device to open 192.168.1.250. Disable VPN or proxy services as these can mess with local IP access.
- To avoid wireless issues make use of wired ethernet connection to the extender.
- Reset your extender to factory settings by holding the reset button for 10 seconds, then try again.
Final Thoughts
Setting your Netgear range extender setup set up by using 192.168.1.250 is not much difficult. It is just a few steps and once you do it, your WiFi dead zones will get strong wifi signals.
Remember:
- First of all, plug in the extender near your router.
- Connect your device to the extender’s WiFi network.
- Use 192.168.0.250 in your browser.
- Log in with admin/password (unless changed).
- Pick your main WiFi and enter the password.
- Set your extender’s WiFi name and password.
- Save and reboot.
- Connect your devices and enjoy better WiFi.