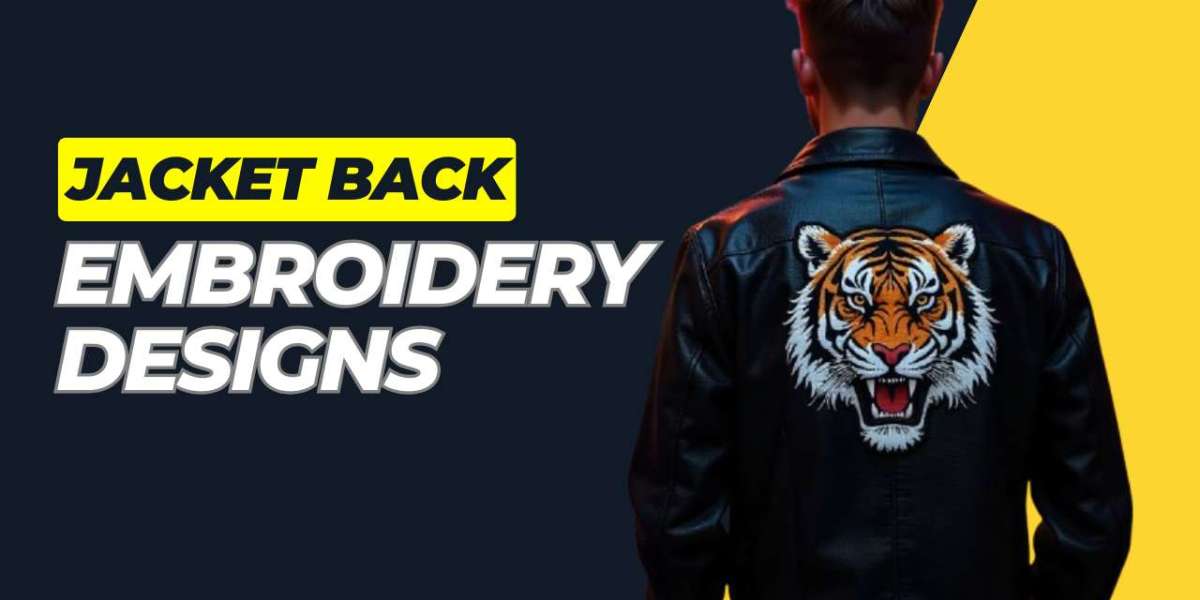
Jacket Back Embroidery Designs- Image to Perfect Stitch File
Jacket back embroidery designs are bold and detailed, often covering a large area with eye-catching patterns, logos, or text. They are trendy in fashion, sportswear, and branding since they are visible at a distance. It is not only a matter of selecting artwork to create these designs, but also the appropriate digitising process, embroidery files format and preparation. This guide will teach you how to create jacket back embroidery designs, how to digitise an image to embroider, and how to prepare a file to achieve the best stitching results.
The Reason Jacket Back Embroidery Designs are Special
In contrast to small shirt logos or cap patches, the size of the design can be as wide as the jacket back embroidery. This leaves a lot of room to be creative with the detail, however, it also leaves a lot of room to make a mistake in the stitching. A good jacket back construction is not only pretty, it is balanced in stitch density, correct in shape and comfortable to wear.
The Role of Digitising in Jacket Back Designs
Digitising is the conversion of artwork into a file that can be read by an embroidery machine. Even a good design will not work when stitched without proper digitising. In jacket backs, digitising should consider greater areas, thickness of the fabric and the pull and push effect when stitching. This makes the design to be in shape and appear professional.
What is Embroidery Files Format?
Embroidery files format is a format that an embroidery machine reads. Popular formats are DST, PES, EXP and JEF. Every brand of embroidery machine has its format that is required. It is imperative to select the right embroidery files format since the incorrect one may result in misaligned stitches or lack of details. The file format should also be able to handle large stitch counts and complicated color changes when doing jacket back embroidery designs.
Digitising an Image to Embroider
An experienced digitiser uses software to plot each stitch in order to digitise an image to be embroidered. The image is then cleaned up so that it can work in thread form. The digitiser then selects the type of stitches, e.g. satin stitches to outline and fill stitches to fill large areas. Direction of stitches, density, and underlay are modified to the fabric of the jacket. Lastly, the design is stored in the right format of the embroidery files so that it can be loaded into the machine.
Choosing Fabric and Thread for Jacket Backs
The majority of the designs of jacket back embroidery are stitched on heavy fabrics such as denim, leather or thick cotton blends. Such fabrics require robust threads and meticulous digitising to avoid damage. The thread selection influences the durability and the shine whereas the fabric selection influences the feel and the drape of the design. The digitising process is tailored to the material to get the best results.
Before Final Stitching of the Design
It is prudent to practice the design on a similar piece of fabric before proceeding to work on the actual jacket. This assists in verifying whether the stitch density is accurate and whether the embroidery files format is functioning well with the machine. Testing also indicates whether the digitised image to be embroidered requires any modification, e.g. resizing or modification of stitch types.
Typical Problems with Jacket Back Embroidery
The balance between detail and readability is one of the primary problems. Little letters or small figures cannot be read at a distance. The other difficulty is to hoop the large expanse of the jacket back in place. When the cloth is not still during sewing, it may distort the design. These problems are avoided by correct hooping, stabilisers and high quality digitising.
Benefits of Professional Digitising Services
Professional digitizers know the special requirements of jacket back embroidery designs. They are familiar with how to turn complicated images into clean stitch files, the appropriate embroidery files format, and adjustments to be made on various fabrics. They are also able to digitalise an image to embroider it in a manner that minimises stitch count without compromising quality, saving time and production cost.
Jacket Back Design Costs
Jacket back embroidery prices are based on the complexity of the design, number of stitches and the number of colors. Tens of thousands of stitches may be involved in large designs, making machine time longer. Digitising is typically an additional expense and can be more expensive on large complex designs. Nevertheless, quality digitising will guarantee that the embroidery will last longer and appear better, which is why it is worth investing in.
Trends in Jacket Back Embroidery in Future
Designs on the back of jackets are becoming more detailed and creative with new embroidery software and machine technology. 3D puff embroidery, gradient threads effects, and metallic finishes are becoming popular. Such sophisticated styles need accurate digitising and the right embroidery files format to be functional. With the improvement of technology, the process of digitising an image to be embroidered will be quicker yet it will still take a skilled individual to do the best job.
Final Thoughts on Jacket Back Embroidery Designs
Embroidery designs on the back of jackets are an aggressive form of creativity, branding, or personality to clothing. The process begins with digitise image for embroidery and saving it in the right embroidery files format. The choice of fabric to the last stitch counts. You can make jacket back embroidery designs as long lasting as they are lovely, with good digitising, good testing, and attention to detail.
About the Author
Sew And Grew is a trusted name in embroidery digitising, delivering high-quality designs that bring creative visions to life. For custom orders or inquiries, contact [email protected].


