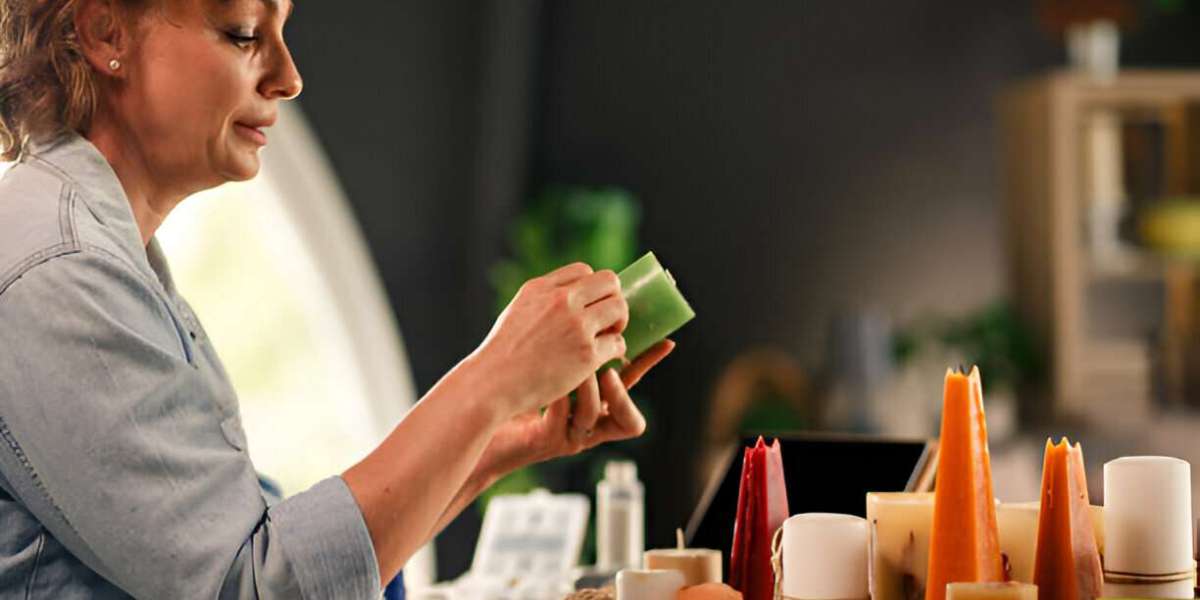
Professional layered candles are hard to make and need the right tools. Squeegee is a great way of ensuring a smooth and even wax application, so as to get some of the beautiful visual effects on custom candles. This is a method of converting the art of candle-making into one that gives uniform and beautiful results.
The Squeegee Technique
The squeegee technique consists of applying melted wax with the help of a tool with a plain edge to cover the surface or a mold. The process allows homogeneity of thickness and also excludes air bubbles that can ruin the cosmetic look of the candles. This method has been embraced by professional candle makers due to the possibility of having better control of the distribution of the wax as opposed to the process of slowly pouring during the candle-making.
When buying a squeegee to do candle making, look for one that is flexible so that it can bend when it comes to curvy areas. Avoid using squeegees that have metal edges, which cause scratches on molds or leave unwanted marks in wax.
Setting Up Your Workspace
Using a squeegee technique guarantees success as long as one prepares well. Prepare your workstation on a flat surface and ensure good lighting is available. Store everything readily at hand, as well as a squeegee, melted wax, molds, and any colorants or additives.
This method is dependent on the control of temperature. The wax must be hot enough to spread without difficulty, but not so hot as to run unrestrainedly. The best working temperature of the squeegee of most of the candle waxes lies between 160°F and 1800°F. Apply to a small patch to test the consistency and make sure that the working conditions are optimal.
Application Process Step by Step
Step 1:- Start with a thin layer of base coat of wax on your mould or surface.
Step 2:- Pour that little bit of melted wax, then spread it using the squeegee while it is still hot.
Step 3:- Keep the squeegee at 45°- 50° angle and keep the pressure steady and consistent, and move across the surface. Be fast and decisive, because wax starts to solidify fast.
Step 4:- In the case of several layers, leave the applications to cool and set before continuing to apply another. This avoids the mixing of colors and the separation of the boundaries of layers.
Step 5:- Clean the squeegee in between varied colour layers so as to prevent becoming contaminated. Smooth layers are achieved by ensuring that there is uniform pressure and speed. Excessive pressure can cause thinning or stripping off prior layers, insufficient pressure leaves ridges and rustic toppings.
Step 6:- Once you understand how to do the technique, practice it on test pieces, and then practice it on final projects.
Making Color Gradients and Patterns
The squeegee technique is particularly good at producing smooth transitions of color and delicate designs. Darker shades should be applied first, and then lighter colors must be blended on top using the squeegee to get the gradient effects. The sound spreading motion helps in creating natural transitions among the colors since it is controlled.
In striped patterns, cover some parts with tapes and then lay the layers of wax. When the wax is just warm, detach the tape.
Professional Methods and Tricks
- Textured Effects: This can be done by applying more or less pressure on the squeegee.
- Embedding Objects: During this process, the squeegee is used to press in the object, such as dried flowers or glitter, between the layers
- Cutting Down Thickness: Using the squeegee and guides or spacers, the specific level of thickness in the layers can be achieved
- Avoiding Temperature: The wax should be maintained at the correct temperature, and this is done through a warming plate or a double boiler system
Safety Considerations
- Melting wax and applying the squeegee technique should always be done in an area with good ventilation.
- Hot wax is extremely injurious, hence wearing protective gear such as heat-resistant gloves and safety eyewear.
- Maintain the first aid kit in hand and be aware of burn treatment practices.
Keep the tools clean to avoid
- To avoid cross-contamination and use materials that are food-grade, in case you will be using edible waxes.
- It is also important to store the finished candles under the right conditions to avoid warping or fading in color.
Equipment Maintenance
Wipe down clean squeegee before they dry up with soft wax. Most of the residues can be eliminated by the use of hot water and a soft and gentle detergent. Sticky residue that is difficult to remove can be treated with special wax melt removers specially made to clean candle-making equipment.
Use store squeegees with a flat side down so that the blade does not warp, and look onto it over frequently to make sure they do not have nicks or other damage that can interfere with performance.
Conclusion
This squeegee technique is a breakthrough in custom candle making, in terms of the control it offers to the deposition of wax on the candle and to the uniformity of its layers. This type of candle creation can be done with the right preparation, temperature control, and practice can create professional results that can bring homemade candles to an artist level that should be in any location.