
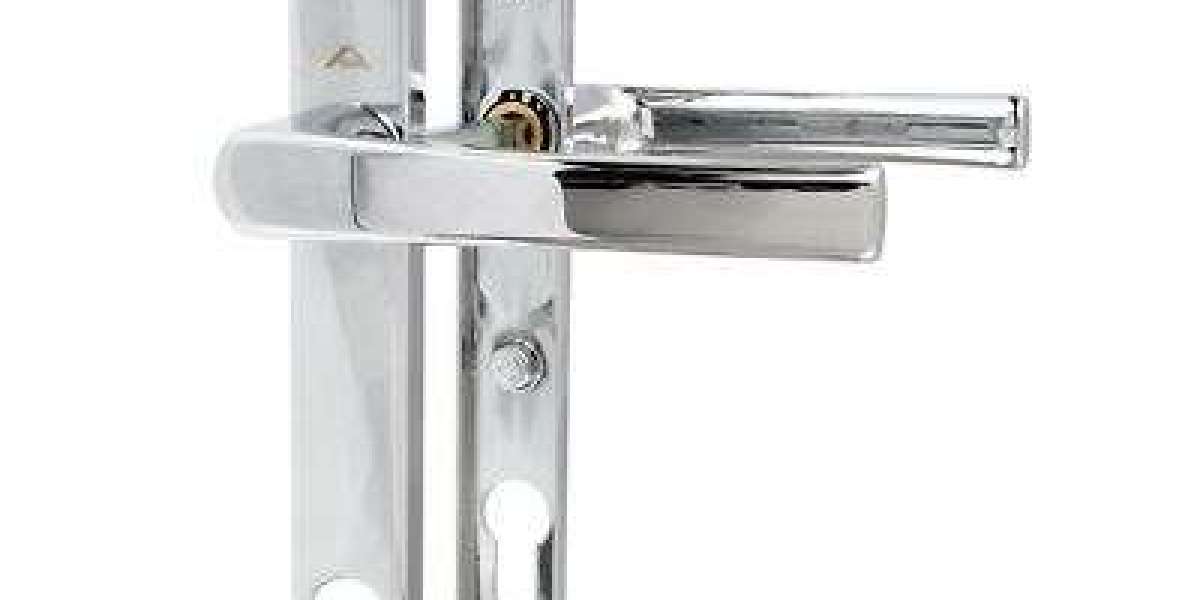
A damaged or worn door handle can make opening and securing your door frustrating. Fortunately, replacing it is a straightforward DIY project that requires only a few basic tools and a little patience. Whether your existing handle has become loose, broken, or outdated, installing a new one can improve both security and appearance without the expense of hiring a professional.
This guide explains the replacement process in simple steps, helping homeowners complete the job safely and efficiently.
Why Door Handles Need Replacement
Door handles experience daily wear and tear. Over time, internal springs weaken, screws loosen, and finishes begin to fade. In some cases, a handle may stop returning to its original position after being pressed, making the locking mechanism difficult to operate.
Replacing an old upvc door lever can restore smooth operation while giving the entrance a refreshed appearance. Modern handles also offer improved durability and better resistance to corrosion, making them ideal for long-term use.
Tools You'll Need
Before starting, gather the following tools:
- Phillips screwdriver
- Flat-head screwdriver
- Measuring tape
- Allen key (if required)
- Replacement handle set
- Soft cloth
- Pen and notepad for measurements
Having everything ready beforehand makes the installation process quicker and reduces unnecessary interruptions.
Step 1: Choose the Correct Replacement
Not every handle fits every door. Before purchasing a replacement, measure:
- Screw fixing centres
- Overall backplate length
- Handle width
- Distance from the spindle to the keyhole (PZ measurement)
- Spindle size
Matching these dimensions ensures the new upvc door lever fits perfectly without requiring modifications.
If you're unsure about measurements, remove the old handle first and take it with you when shopping.
Step 2: Open the Door Fully
Always perform the replacement with the door open. This prevents accidental lockouts if the locking mechanism becomes engaged during installation.
Place any removed screws in a small container to avoid losing them.
Step 3: Remove the Existing Handle
Locate the fixing screws on the inside face of the handle.
Using a Phillips screwdriver:
- Remove the fixing screws.
- Pull the inside handle away.
- Remove the outside section.
- Carefully slide out the spindle connecting both handles.
If the handle seems stuck, gently wiggle it rather than forcing it. Dirt or old paint may create slight resistance.
Step 4: Inspect the Lock Mechanism
With the handle removed, take a moment to inspect the internal lock.
Check for:
- Bent components
- Rust
- Dirt buildup
- Loose moving parts
Cleaning the mechanism with a dry cloth helps improve operation. If the gearbox shows obvious damage, replacing only the handle may not solve the issue.
Step 5: Compare Old and New Parts
Lay both handles side by side.
Confirm that:
- Screw holes line up
- Backplate size matches
- Spindle length is correct
- Lever direction is identical
A quick comparison prevents installation mistakes later.
Step 6: Insert the Spindle
Slide the spindle through the lock mechanism.
It should move smoothly without excessive force.
Some replacement kits include adjustable or cut-to-size spindles. If trimming is necessary, carefully follow the manufacturer's recommendations.
Step 7: Install the Exterior Handle
Position the outer handle first.
Ensure:
- The spindle passes through correctly.
- Screw holes align.
- The handle sits flush against the door surface.
Hold it firmly while preparing the interior section.
Installing the new upvc door lever correctly at this stage ensures the locking system operates smoothly once fully assembled.
Step 8: Attach the Interior Handle
Place the inside handle over the spindle.
Insert each fixing screw by hand before tightening.
Avoid fully tightening one screw first. Instead:
- Tighten the top slightly.
- Tighten the bottom slightly.
- Alternate until both are secure.
This creates even pressure across the backplate and prevents misalignment.
Step 9: Test the Handle
Before closing the door, test every function.
Check that:
- The handle moves freely.
- It returns smoothly.
- The latch retracts fully.
- The key locks and unlocks correctly.
- The multipoint mechanism engages properly.
Testing while the door remains open allows corrections without becoming locked outside.
Step 10: Tighten Everything Carefully
Once satisfied with the operation, perform a final tightening of all screws.
Do not overtighten.
Excessive force may strip screw threads or damage the backplate, reducing the handle's lifespan.
A properly installed upvc door lever should feel firm without any wobble.
Common Installation Mistakes
Many DIY installers encounter small issues that are easy to avoid.
Incorrect Measurements
Buying the wrong size remains the most common problem.
Always verify:
- PZ measurement
- Screw spacing
- Backplate dimensions
- Spindle length
Over-Tightened Screws
Too much pressure can warp the backplate and affect handle movement.
Tighten until secure but avoid excessive force.
Forgetting to Test Before Closing
Always test every locking function with the door open.
This simple precaution can prevent unnecessary inconvenience.
Maintenance Tips
A new handle can last many years with minimal maintenance.
To keep it working properly:
- Wipe regularly using a soft cloth.
- Avoid abrasive cleaners.
- Lubricate moving parts annually.
- Check screw tightness every few months.
- Clean around the lock to prevent debris buildup.
Proper care reduces wear while maintaining smooth operation.
When Should You Replace Instead of Repair?
Sometimes tightening loose screws is enough. However, replacement is usually the better option if:
- Springs no longer return the handle.
- The finish has corroded.
- The handle feels loose despite tightening.
- Cracks appear in the backplate.
- Internal components repeatedly fail.
Installing a fresh upvc door lever often costs less than repeated repairs and improves both reliability and security.
Benefits of Installing a New Handle
Replacing an old handle offers several advantages beyond appearance.
These include:
- Improved home security
- Smoother daily operation
- Better resistance to weather
- Enhanced curb appeal
- Longer service life
- Reduced maintenance
- Greater confidence in the locking system
Modern designs are also available in a variety of finishes, allowing homeowners to match existing doors and exterior décor.
Final Thoughts
Replacing a door handle is one of the easiest home maintenance tasks that delivers immediate results. With the correct measurements, a few household tools, and careful installation, most homeowners can complete the project in less than an hour.
Taking time to inspect the lock, align the components correctly, and thoroughly test everything before closing the door helps ensure lasting performance. By following these simple steps, you can restore smooth operation, improve security, and give your entrance a refreshed appearance with confidence.