
Brushes And Rollers: How to Choose the Right Tools for a Smooth Paint Finish

A smooth paint finish usually depends less on the paint itself than on the brush or roller you use to apply it. The wrong tool can leave streaks, lint, or an uneven texture, while the right one spreads paint evenly and helps it level out. Understanding brush shapes, roller covers, and basic technique will save time, reduce rework, and give walls, doors, and trim a cleaner result.
Choose the Brush for the Job
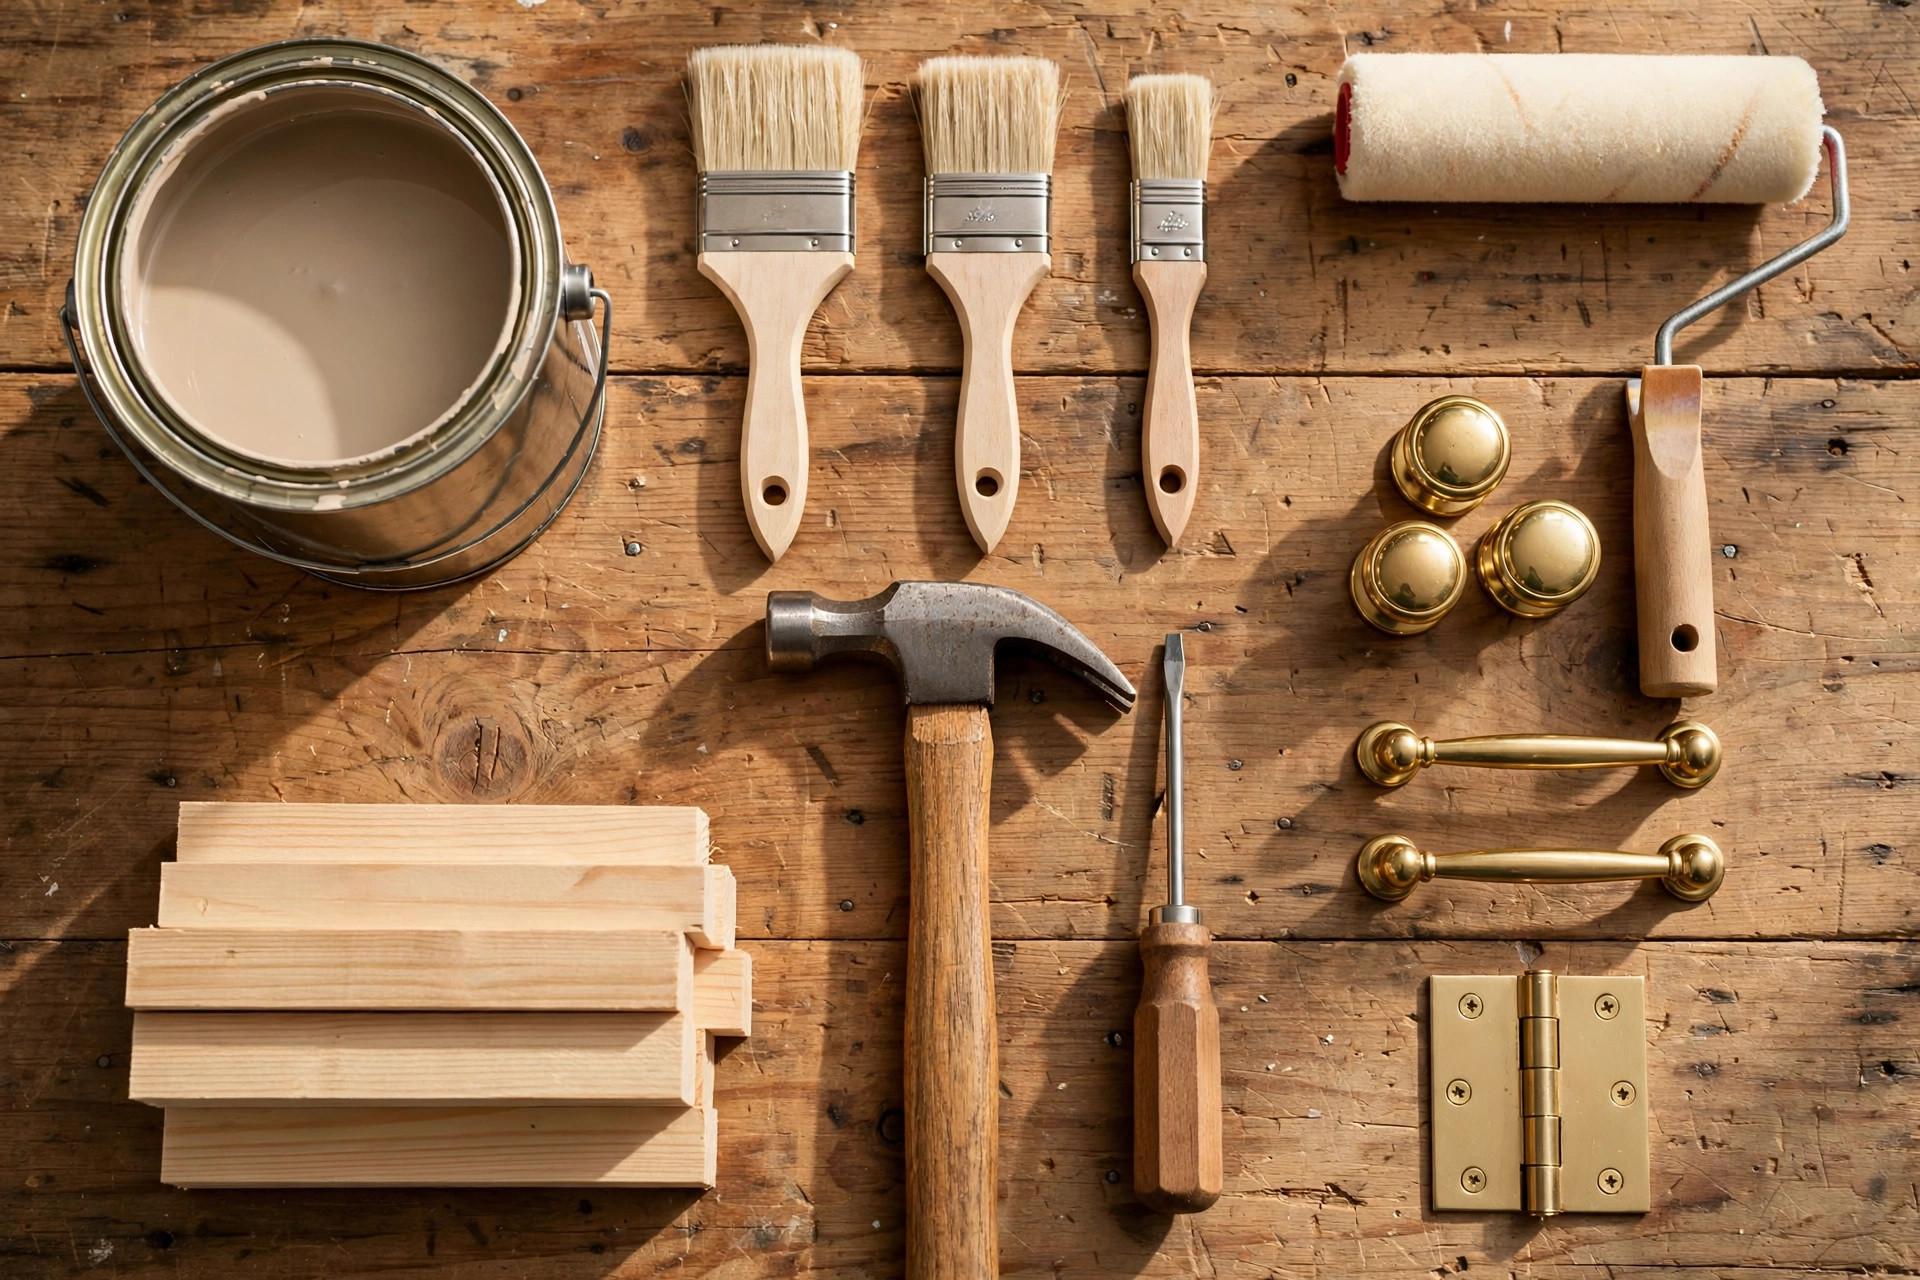
Brushes are best for edges, trim, corners, and smaller areas where control matters. A flat brush suits broad, straight surfaces, while an angled brush helps you cut in along ceilings and window frames. Bristle type matters too: synthetic bristles generally work well with water-based paints, and natural bristles are often used with oil-based products, so check the paint label before choosing.
Size and Quality Make a Difference
A brush that is too small slows the job and can leave lap marks, while one that is too large is hard to control around trim. For most walls and trim, a medium brush gives a good balance. A well-made brush holds more paint, releases it evenly, and keeps its shape, which means fewer stray bristles in the finish.
Load and Apply Without Overworking
Dip only the lower third of the bristles, tap off excess rather than scraping hard, and use long, even strokes. Over-brushing paint that has started to set can drag the surface and create marks. Work in manageable sections, keep a wet edge, and let each coat dry fully before the next.
Pick the Right Roller and Cover
Rollers cover large, flat areas faster than brushes and give a consistent texture when used correctly. The roller frame should feel balanced, and the cover nap should match the surface: a short nap suits smooth walls, while a longer nap helps paint reach into lightly textured surfaces. Check the cover material against your paint type, and remove loose fibres before starting.
Roll With Steady Pressure
Load the roller evenly in a tray, roll off excess, and apply paint in a loose W or M pattern before smoothing it out. Keep pressure even, avoid pressing hard at the edges, and overlap each pass slightly. Rushing, or rolling over paint that is drying, is a common cause of roller marks.
Care, Cleaning, and Storage
Cleaning tools promptly keeps them usable for many projects. Wash water-based paint from brushes and rollers with warm water, reshape brush bristles, and let tools dry before storing. For oil-based paint, follow the product instructions and local disposal rules. Store brushes hanging or flat so bristles do not bend, and keep roller covers clean and dry.
Replace Tools When They Wear Out
Frayed bristles, a flattened roller, or a loose ferrule will show in the finish. Replacing a worn tool is usually cheaper than repainting a wall. Keep one good brush for trim, one for cutting in, and a reliable roller frame with a few covers for different surfaces.
Shopping for Brushes And Rollers
Start with your project list: surface type, paint type, room size, and the amount of trim work involved. Compare brush sizes, bristle types, roller widths, and nap lengths, and buy a spare cover so a damaged one does not stop the job. To compare options, browse Brushes And Rollers and choose tools that match your paint and surface.
The right brush or roller turns painting from a chore into a more predictable job. Choose by surface and paint type, use steady technique, and look after your tools. For the wider store, visit Norberg Paints and plan your next project with the correct tools in hand.