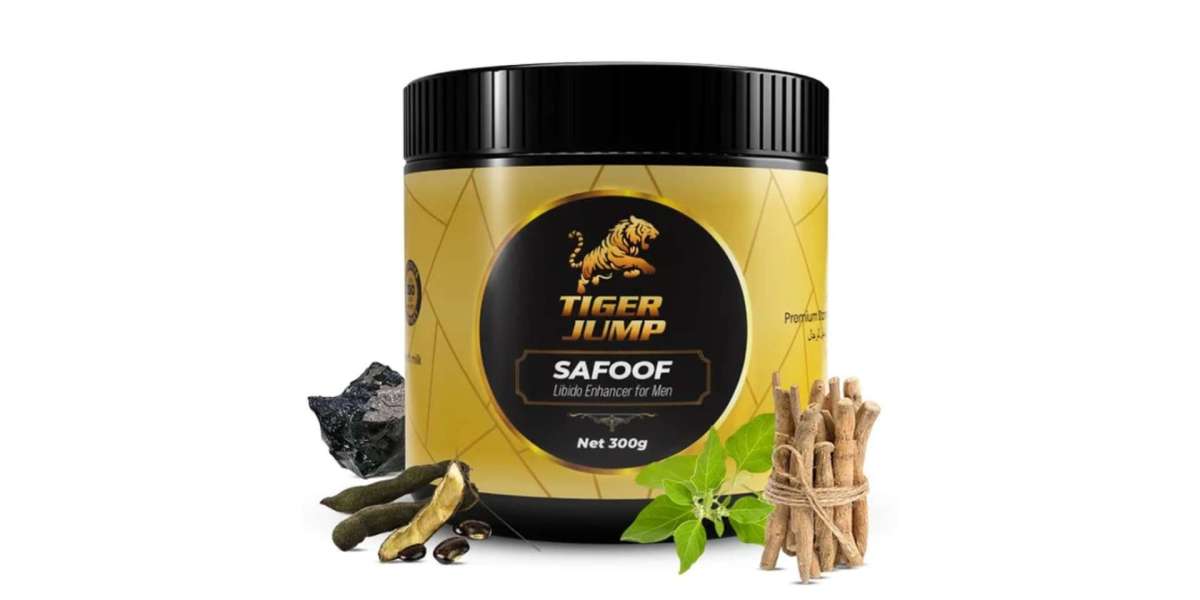
Libido and Testosterone Boosters Supplements: What You Need to Know
Libido and Testosterone Boosters Supplements have become a popular choice for individuals aiming to improve their physical energy, mental focus, and overall vitality. These supplements are often marketed as natural solutions to support hormone health and enhance daily performance without relying on medical treatments. As interest in wellness continues to grow, more people are exploring how these products can fit into their lifestyle and whether they can truly deliver noticeable benefits.
Understanding Libido and Testosterone Boosters Supplements
Libido and Testosterone Boosters Supplements are typically formulated using a combination of vitamins, minerals, and plant-based ingredients that are believed to support the body’s natural hormone production. Instead of introducing synthetic hormones, they focus on providing essential nutrients that may help maintain balance within the body. This approach makes them appealing to those who prefer a more natural and gradual method of improving their overall well-being.
How They Influence the Body
These supplements are designed to work by supporting internal processes that regulate hormones, energy, and mood. Certain nutrients can play a role in maintaining normal testosterone levels, especially when deficiencies are present, while herbal ingredients may contribute to reducing stress and improving overall vitality. The combined effect can help users feel more active and balanced throughout the day without creating sudden or artificial changes.
Common Benefits Reported by Users
Many people use Libido and Testosterone Boosters Supplements to support increased energy levels, improved motivation, and enhanced physical performance. They are also commonly associated with helping maintain a healthy libido and boosting confidence in daily activities. While results are not the same for everyone, some users notice gradual improvements in stamina, mood, and overall lifestyle when these supplements are used consistently.
Effectiveness and Limitations
The effectiveness of Libido and Testosterone Boosters Supplements depends on several factors, including individual health, diet, and lifestyle habits. While some ingredients may offer mild support, these supplements are not a guaranteed solution for significant hormonal changes. It is important to understand that they are best used as supportive tools rather than expecting immediate or dramatic results.
Safety and Responsible Use
When used properly, Libido and Testosterone Boosters Supplements are generally considered safe, but users should remain cautious about product quality and ingredient transparency. Since not all supplements are created equally, choosing reliable options and following recommended dosages is essential. Some individuals may experience mild side effects, so it is always advisable to consult a healthcare professional before starting any new supplement routine.
Supporting Results with Lifestyle Changes
For the best outcomes, Libido and Testosterone Boosters Supplements should be combined with healthy lifestyle habits. Regular physical activity, balanced nutrition, proper sleep, and stress management all play a significant role in maintaining hormone health. These factors often have a stronger impact than supplements alone, making them a crucial part of any long-term wellness strategy.
Who Can Benefit from These Supplements
Libido and Testosterone Boosters Supplements may be helpful for individuals who feel a drop in energy, reduced motivation, or changes in overall performance. However, it is important to determine whether these issues are related to hormone levels or other factors. In many cases, a combination of improved lifestyle choices and supplement use can provide more effective and sustainable results.
Final Thoughts
Libido and Testosterone Boosters Supplements offer a convenient way to support overall health and vitality, especially for those looking for natural options. While they may provide benefits for some users, their effectiveness depends on consistency, quality, and overall lifestyle. Taking a balanced and informed approach ensures that expectations remain realistic and results are more meaningful over time.
FAQs
What do Libido and Testosterone Boosters Supplements do
They are designed to support natural hormone balance and improve energy, mood, and performance.
Are Libido and Testosterone Boosters Supplements effective
They may provide mild benefits, but results vary depending on individual factors.
How long should I use these supplements
Consistent use over several weeks is usually required to notice any changes.
Can they increase muscle strength
They may support overall performance, but they are not a substitute for proper training and nutrition.
Are there any side effects
Some users may experience mild side effects depending on the ingredients.
Do I need a prescription to use them
No, they are generally available over the counter.
Can I combine them with other supplements
It is possible, but it is best to consult a professional for guidance.
Are they suitable for daily use
Yes, they can be used daily if taken according to recommended guidelines.